Having unwanted text on a photo you want to use is annoying and diminishes the overall quality of the image. This can lead to less social media engagement and fewer sales. To remove text from an image in Photoshop, follow any of our six easy step-by-step tutorials.
Table of Contents:
- Content Aware Fill
- Clone Stamp Tool
- Patch Tool
- Healing Brush Tool
- Layer Match
- Imagewith.AI Clearoff — Easiest Method
- FAQs
6 Methods For Removing Text From Images in Photoshop
1.Content Aware Fill
Step #1: Open Photoshop and load the image you want to edit.
Step #2: Select the Magic Wand Tool from the toolbar on the left side of your screen (it looks like a wand with little stars on top).

Step #4: Once the text has been selected, go to the top menu, click on Edit, and then select Fill from the drop-down menu. A Fill dialog box should appear.
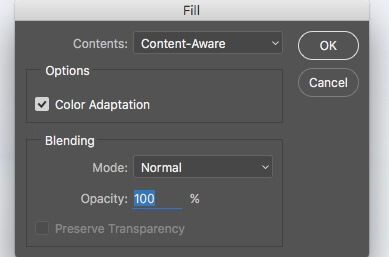
Step #5: In the Fill dialog box, select the Content-Aware option from the Contents drop-down bar.
Step #6: Click the OK button and Photoshop will remove the selected text using Content Aware Fill. A new version of your image without the text should be generated in a few seconds.
2.Clone Stamp Tool
Step #1: Open Photoshop and load the image you want to work on.
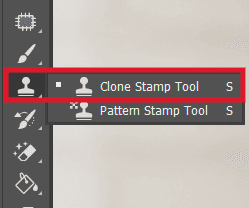
Step #2: Select the Clone Stamp Tool from the toolbar on the left-hand side (it's the icon that looks like a stamp).
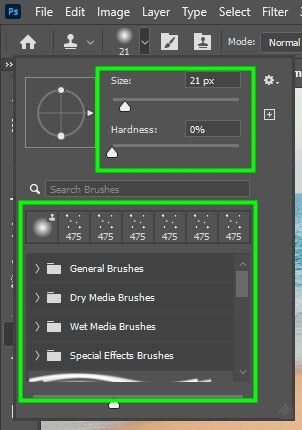
Step #5: Position the Clone Stamp Tool over the text you want to remove and left-click and hold the mouse down to start cloning. Move the brush over the entire text, you’ll see it being replaced with the source area.
Step #6: Refine the image with the Eraser tool to remove any visible edges or inconsistencies.
3.Patch Tool
Step #1: Open Photoshop and import the image you want to edit.
Step #2: Select the Patch tool from the toolbar. It's the icon that looks like a bandaid.
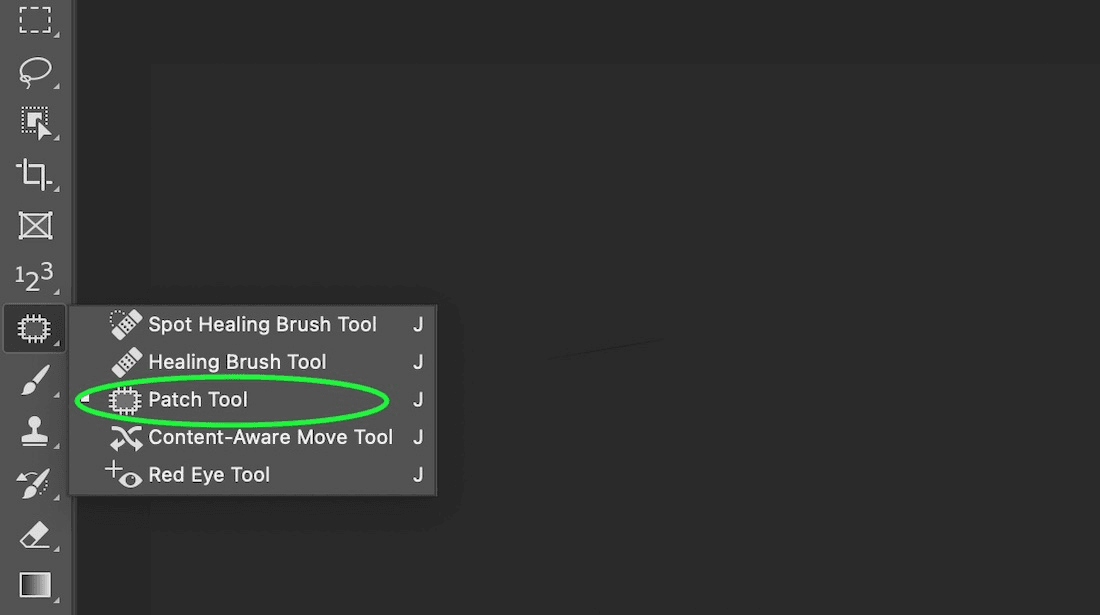
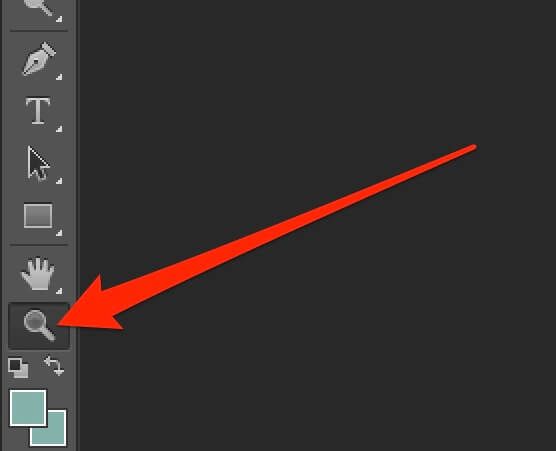
Step #4: Adjust the size of the Patch tool to match the size of the text you want to remove. To do this, click the brush size drop-down menu at the top of the screen and adjust to the appropriate size.
Step #5: Click and drag the Patch tool around the text you want to remove. This will create a selection around the text. Make sure the selection includes enough surrounding area to get a good sample for the patching process.
Step #6: Release the mouse button and move the selected area to a clean and similarly textured area nearby that you can use to cover the text. This can be an area of the image without any text or similar texture that you want to clone.
Step #7: Once you’ve positioned the selected area over the clean texture, click and drag within the selected area to blend the patch with the surrounding pixels. The Patch tool will automatically replace the selected area with the texture you dragged it to.
4. Healing Brush Tool
Step #1: Open Photoshop and load the image you want to edit.
Step #2: Select the Healing Brush Tool. It’s the icon that looks like a bandage.
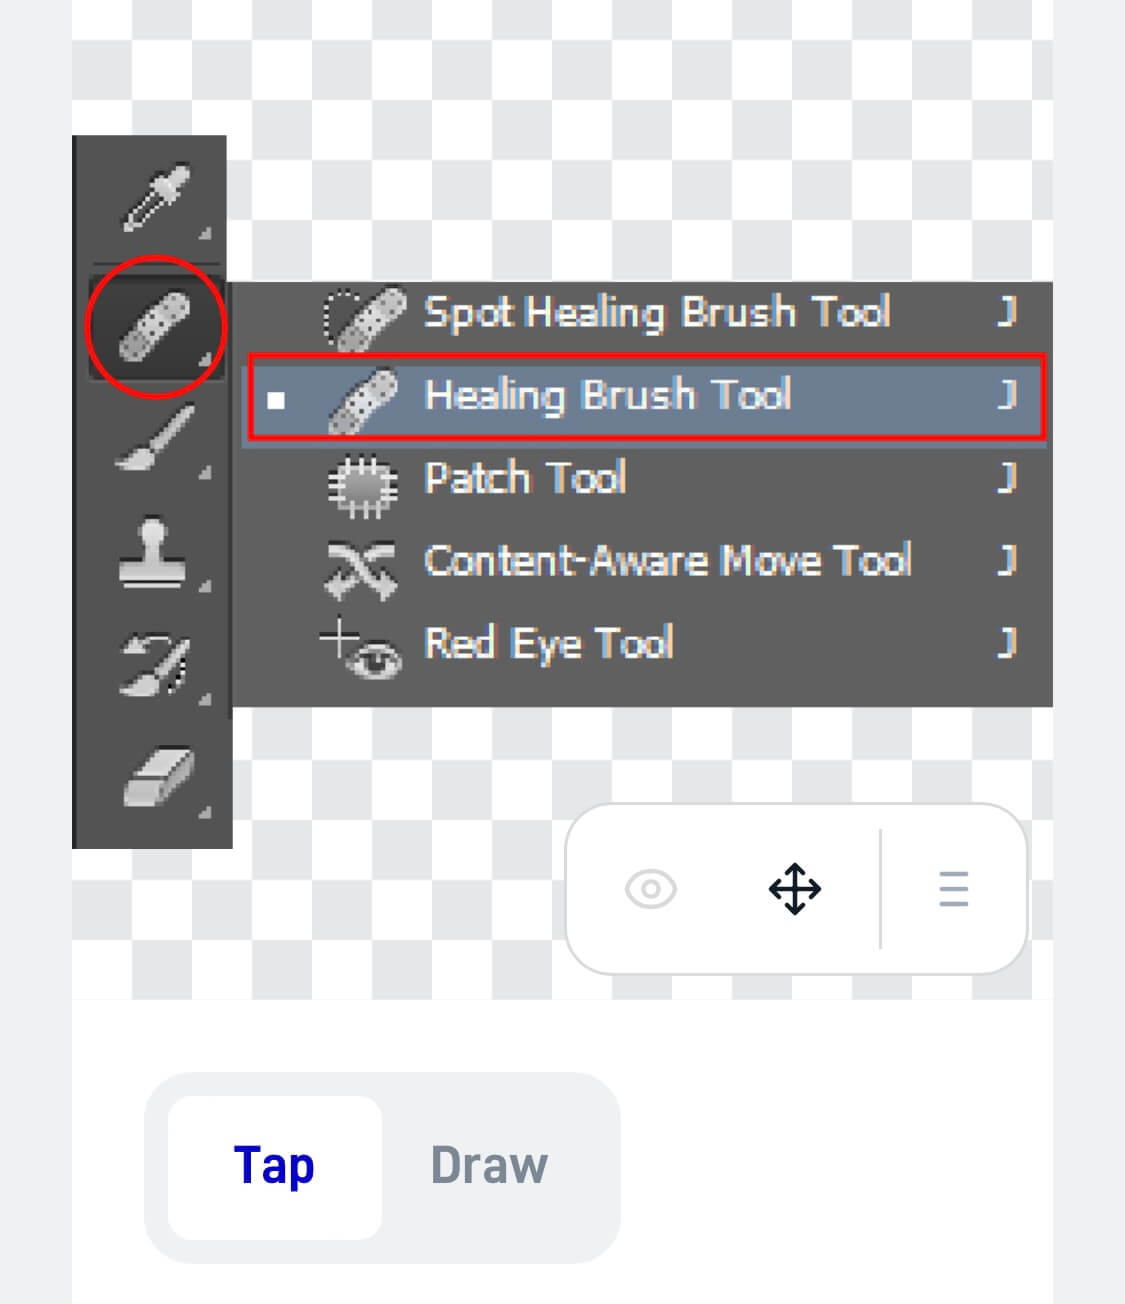
Step #3: At the top of the screen, you’ll find the brush size options. Click on the brush size dropdown menu and choose a brush size that is slightly larger than the text you want to remove. You can make it bigger or smaller by clicking and dragging the slider or typing in a number.
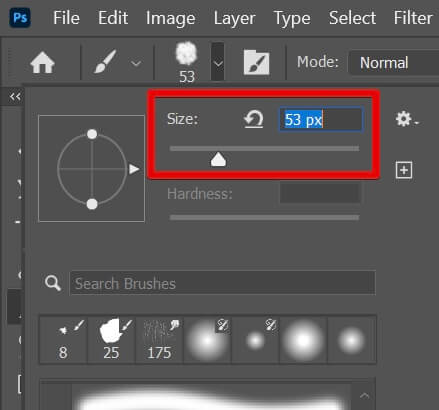
Step #5: Choose a source area by holding down the Alt key on your keyboard and clicking on an area of the image that is similar to the background around the text. This will become your source area and the healing brush will use it to replace the text.
Step #6: With the healing brush selected and your source area chosen, move your cursor over the text you want to remove. Click and drag the brush over the text, and you’ll see the text being replaced with the surrounding background.
5. Layer Match
Step #1: Open Photoshop and load the image you want to edit.
Step #2: Duplicate the background layer by right-clicking on it in the Layers panel and selecting Duplicate Layer. This will create a new layer to work on while preserving the original image. Make sure you select the duplicated layer.
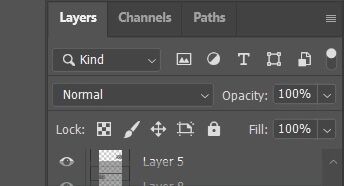
Step #4: Use the Rectangle Marquee tool to draw a selection around the text you want to remove. Try to be as precise as possible.
Step #5: Once the layer has been selected, click on the Layer Mask button at the bottom of the Layers panel. It looks like a square with a circle inside it.
Step #6: The text should now be hidden, revealing the background layer underneath. If any of the text still remains, you manually remove it by using the Eraser tool or the Brush tool with a black color.
6. Imagewith.AI Clearoff — Easiest Method
Step #1: Upload your image or drop a file, and paste image or URL.

Step #3: Press the Zoom button for a more precise result.
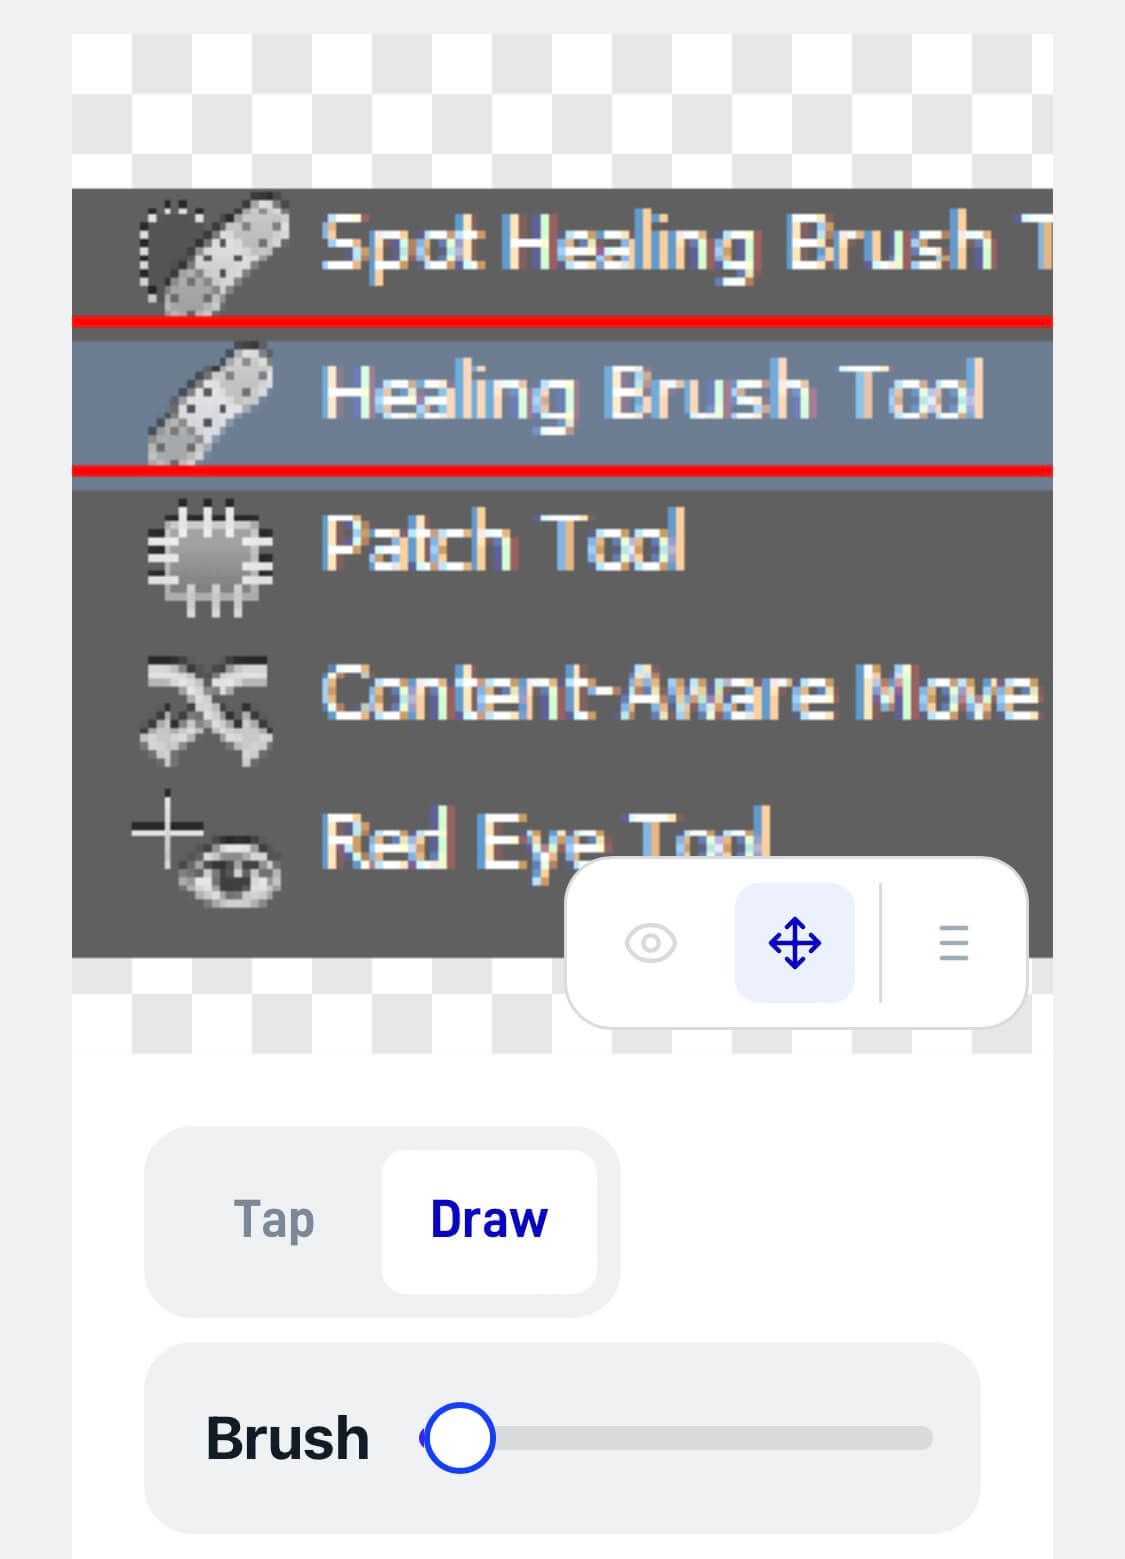
Step #4: Select Draw again and using your finger or mouse, draw over the text you want to remove. Imagewith.AI Clearoff will automatically remove the unwanted text without leaving a blur behind. Zoom out and save the image by clicking Download.
Edit Your Image In Imagewith.AI Clearoff For Free
Imagewith.AI: FAQs
What Is Imagewith.AI?
Imagewith.AI is a cutting-edge AI-powered photo editing platform. This sophisticated technology has three powerful tools to meet all your editing needs:
Imagewith.AI Overscale
Harnessing the power of AI, Imagewith.AI Overscale lets you achieve drastic image quality enhancement, bringing out vibrant colors, improving sharpness, and optimizing the overall visual appeal of your photos.
Imagewith.AI Outcut
Imagewith.AI Outcut removes backgrounds quickly and easily, enabling you to effortlessly isolate your image subject and place it in a new background.
Imagewith.AI Clearoff
Need to get rid of objects, people, text, or watermarks from an image? Imagewith.AI Clearoff can eliminate distractions from photos in just a few seconds.
Why Should I Use Imagewith.AI Clearoff?
Imagewith.AI clearoff is a user-friendly tool for people looking to seamlessly remove objects, people, text, watermarks, and backgrounds from their images with minimal effort and no cost, making it a great alternative to Photoshop which requires a subscription from users.
And since Imagewith.AI Clearoff is powered by artificial intelligence, so there is no need to fuss over time-consuming tutorials as AI simplifies the entire editing process. Imagewith.AI Clearoff employs advanced algorithms that intelligently analyze your photos, enabling you to eliminate distractions and imperfections while maximizing the sharpness, clarity, and overall quality of your images.
With Imagewith.AI Clearoff, you can say goodbye to unwanted elements and welcome flawlessly edited photos
Try Imagewith.AI Clearoff For Free
Why Should I Subscribe to Imagewith.AI?
Subscribing to Imagewith.AI unlocks a range of benefits such as:
- As many editing credits as you need (the free version limits you to 5-10 per day)
- Priority processing (your edits will happen almost instantly)
How Much Is an Imagewith.AI Subscription?
Here’s a quick breakdown of the different subscription plans available:
100 credits | $9.00 / month |
500 credits | $39.00 / month |
1000 credits | $69.00 /month |
5000 credits | $270.00 /month |
You can also purchase credits without having to join a subscription. Prices start at $39.00.


